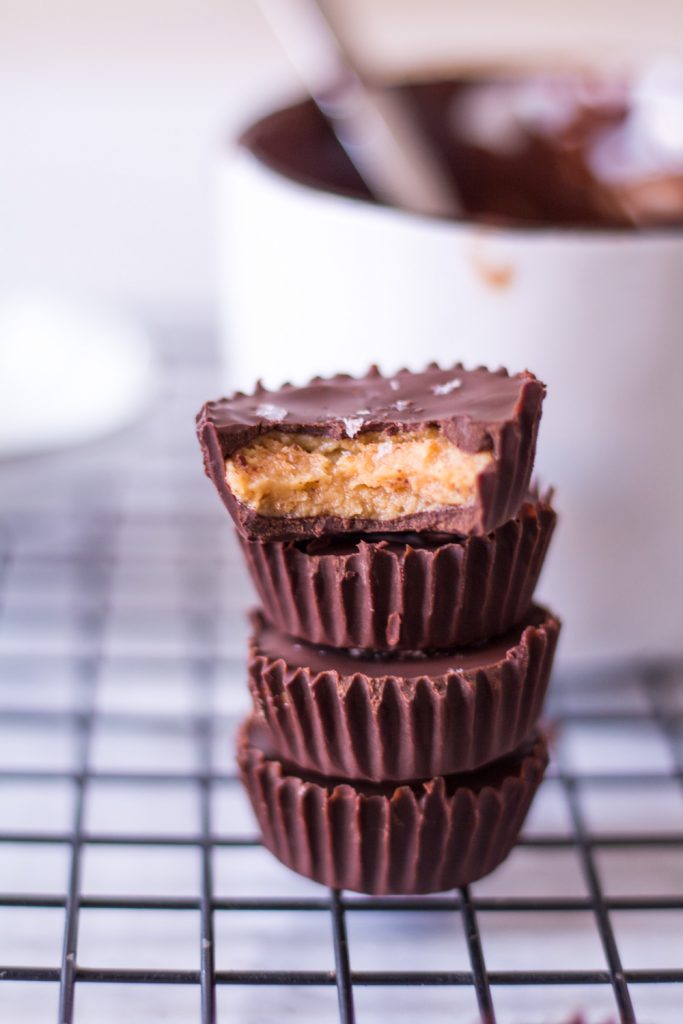
I make a habit out of re-testing recipes for this blog. There is never a recipe that has not been tested at least twice before appearing on this blog. With this recipe, I kind of went a little overboard with the testing, because six is the number of interest here. I made these nut butter cups six times already. And not just for friends and family. Mostly for me. Whoopsi.
Let’s be honest here. I never had a sweet tooth. Chocolate, gummy bears, cake or cookies are all fine, but I could never eat more than a few at once or else I felt sick. No, I’m all for the second and third portion of real food. I can easily eat a whole pizza, lots of pasta and breeeeead. And more bread.
So when I made these the other night, Jannis and I both tried one. He was about to put the box back into the freezer, when I yelled „STOP – excuse me, but I want another one“. Can’t blame him because usually that would have made so much sense. But I almost ate the entire first batch that night so I had to make new ones to photograph them.
It’s been a long time since I have tried something so delicate and delicious. You will never tell that it’s made with healthier ingredients, that it’s plant-based and only naturally sweetened with a little bit of maple syrup. And the best part is that they taste extremely delicious as a frozen treat. Incredibly delicious. Trust me.
 Whether you’re using peanut, almond or cashew butter to make these, they always taste good. Obviously different nut butters will mean different tastes, but that’s a no brainer, right? I’m not going to lie, I am a sucker for peanut butter, which make these cups taste even better than Reese’s peanut butter cups. But the almond version is my second favorite, especially since almond butter is so healthy and full of valuable plant-based protein.
If you love baking, then you should also go ahead and make the chocolate myself, like I did in this recipe. Making your own plant-based chocolate is the real deal, people. After that, you’ve mastered the plant-based cooking 100 %. It will also safe you quite a lot of money as plant-based and refined sugar free chocolate is still quite expensive. However, I know time is money, so in the instructions, I give you two options. One with store-bought 70% dark chocolate and one with homemade chocolate.
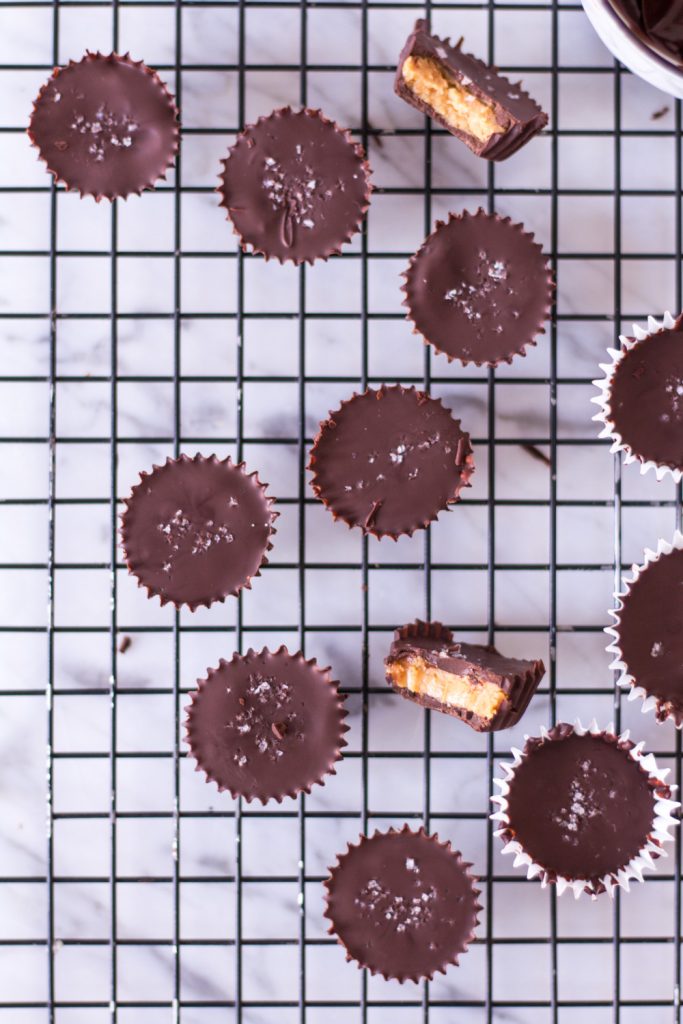
No matter what option you chose: don’t be afraid to try them! They are almost fool-proof, are ready in less than an hour and will leave your taste buds and those of your friends very impressed.
Have fun baking!
xx
Lynn
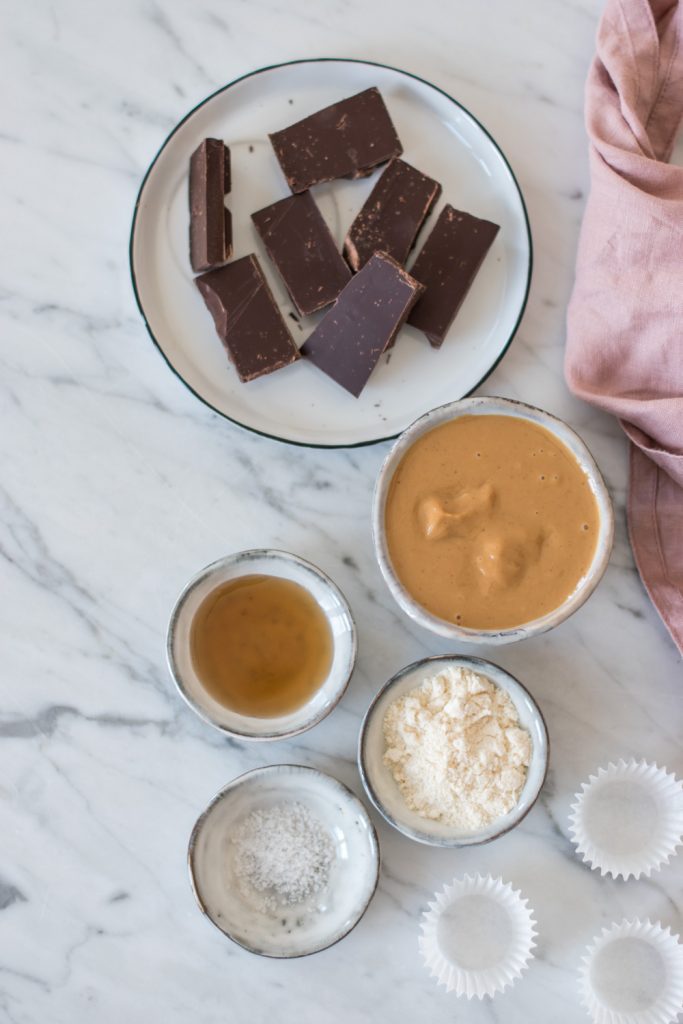
- 80 g (1/3 cup) nut butter (peanut butter, almond or cashew butter)
- ½ tablespoon of maple syrup
- 1 tablespoon of coconut flour or almond meal, more if you're using almond butter
- a pinch of sea salt
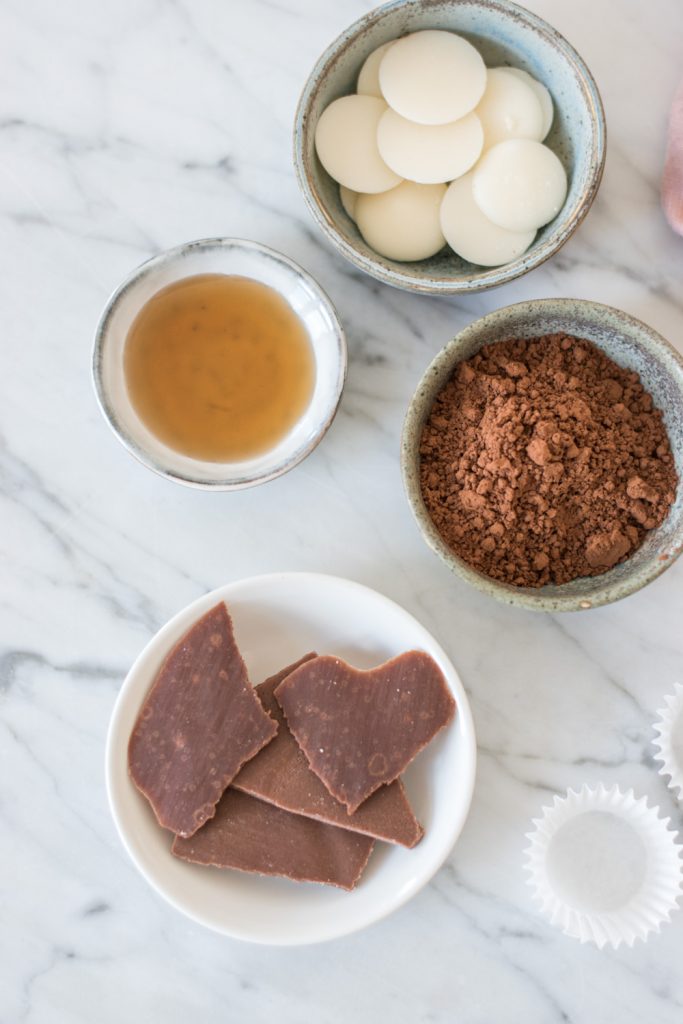
- 120 g of cacao butter (from the organic grocery store)
- 75 g of raw cacao powder
- 80 g of maple syrup
- 16 mini muffin cups
- Mix the nut butter with the coconut flour or almond meal and maple syrup. I needed a bit more flour/meal when I used almond butter. Set aside once you can form a rough ball with the dough.
- Slowly heat the cacao butter in a water bath (not in the water, but in a seperate bowl in a bowl full of warm water). It should not be heated to more than 38 °C. Add the cacao powder and maple syrup and stir well. Take from the heat and let it cool so it thickens a little bit. (See Notes)
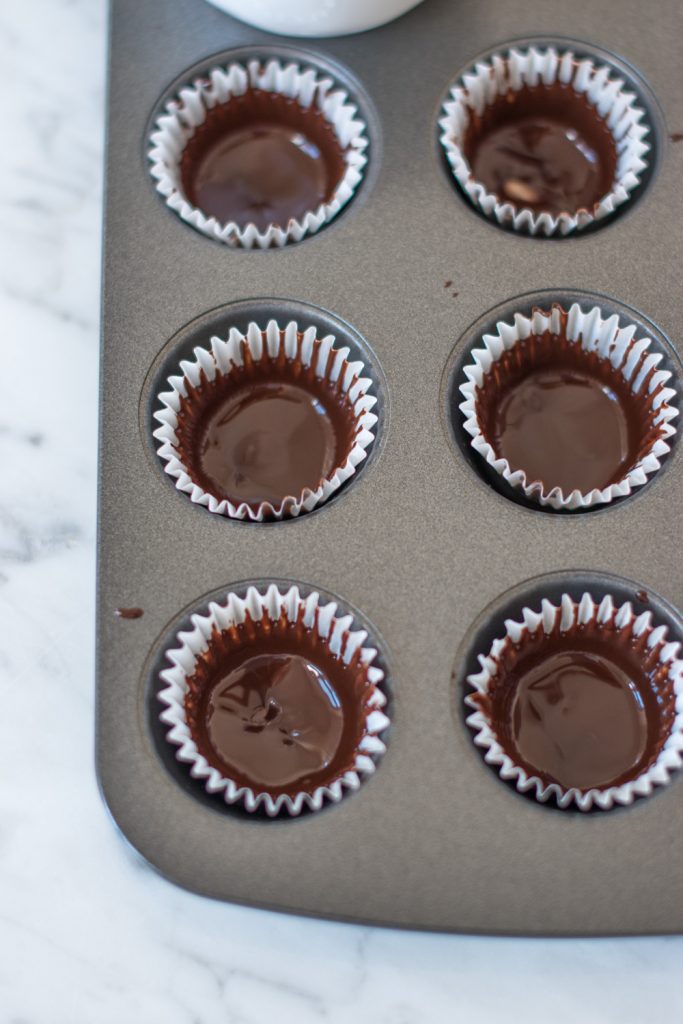
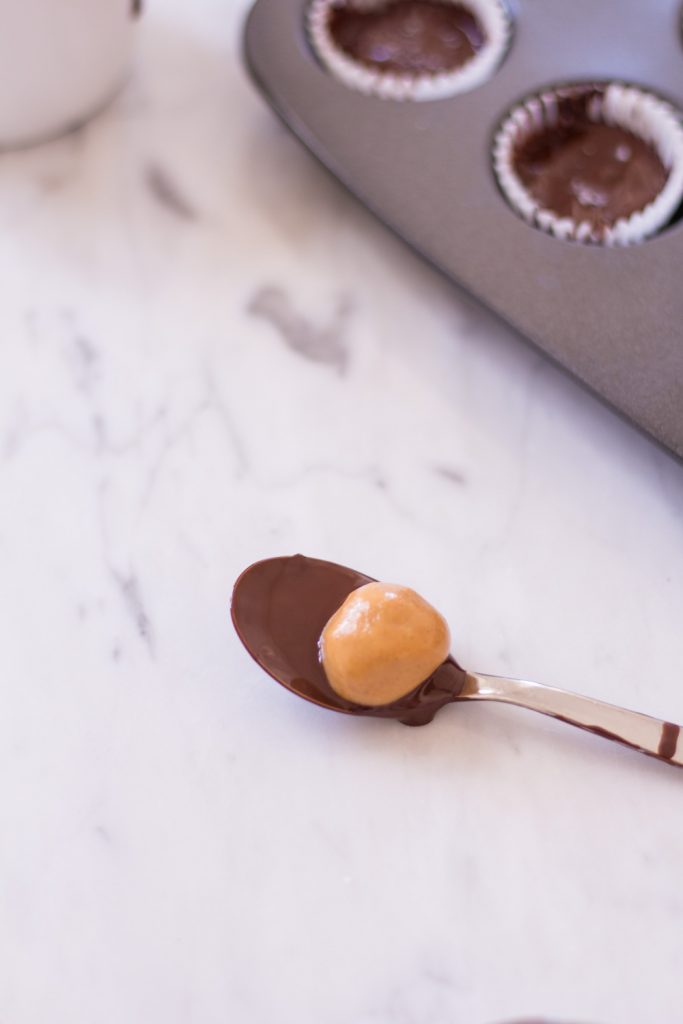
- Align 16 mini muffin holes with mini muffin paper cups. Add about 1 teaspoon (a little bit less) into each muffin mold. Spread the chocolate up to the sides using a small teaspoon. It won't really stick to the sides with the homemade chocolate, so it's important to let the chocolate cool down a bit so it thickens as much as possible.
- Let the chocolate freeze in the freezer for about 15 minutes.
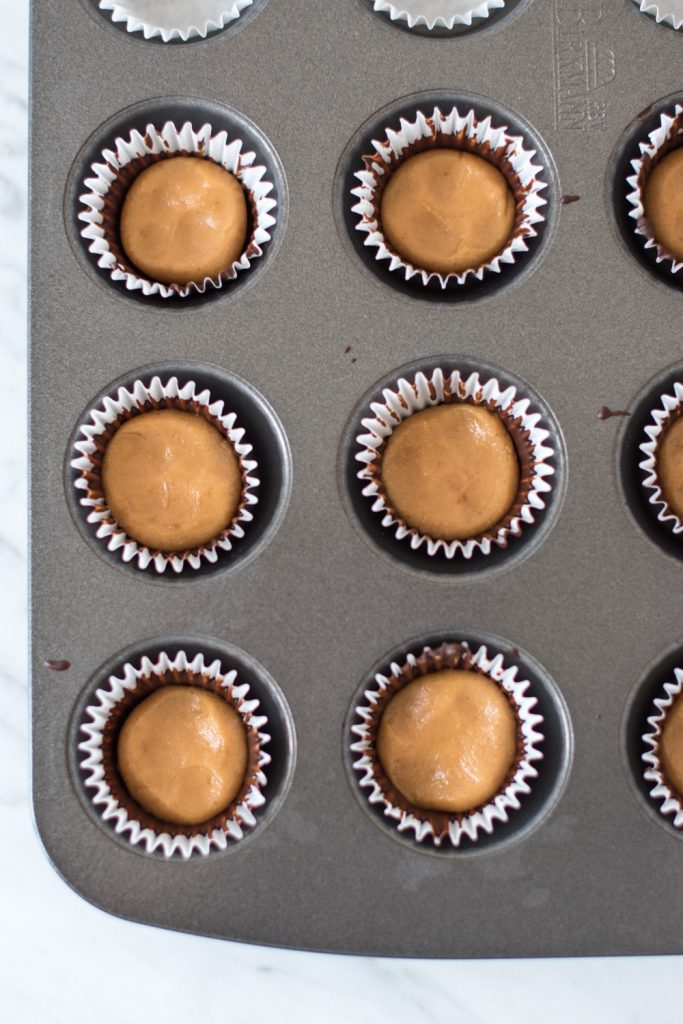
- Take out the muffin tray, then roll the nut butter mix into small balls, placing one into each muffin mold. Gently press them down, leaving just a bit of space between the chocolate and the nut butter, so you can fill it with chocolate.
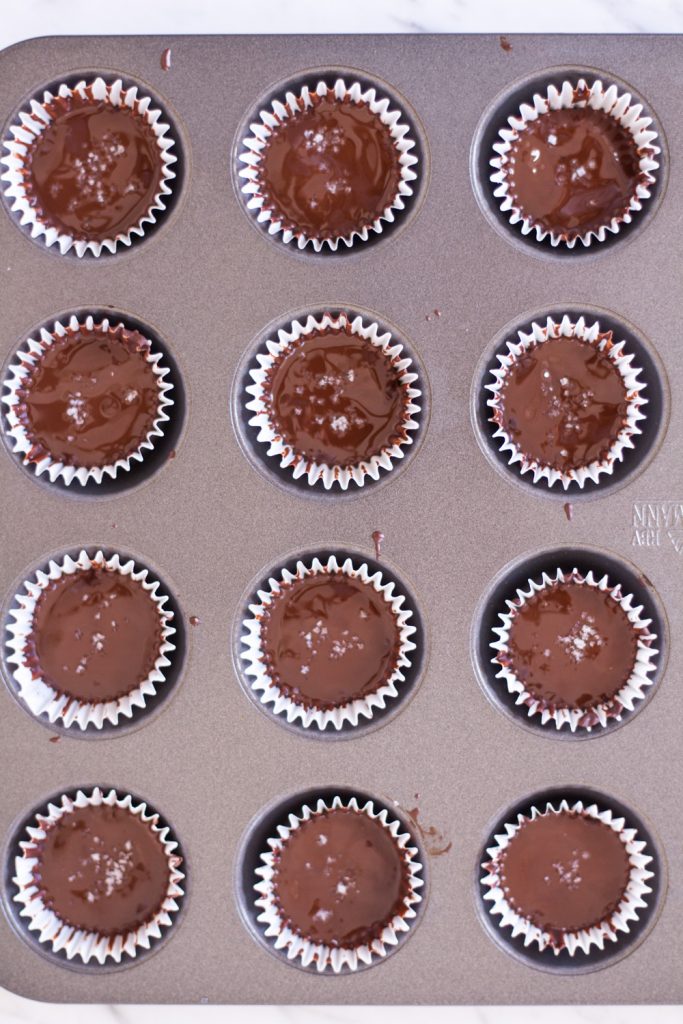
- Re-heat the chocolate in a water bath if it has thickened too much. Cover the nut butter completely with chocoalte, then sprinkle a bit of sea salt on top.
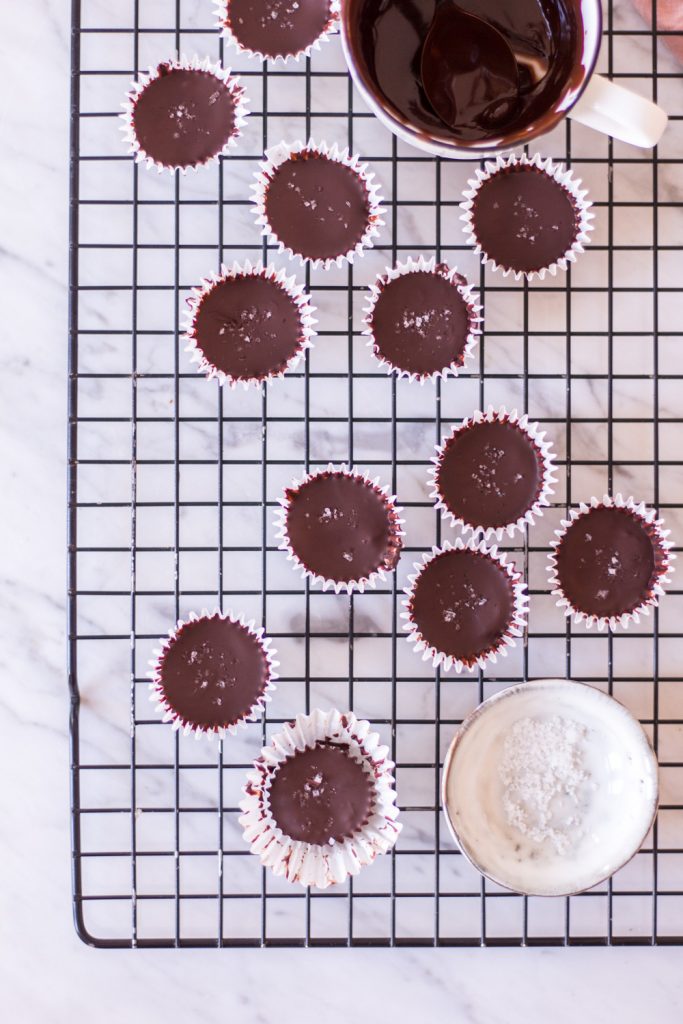
- Freeze the cups in the freezer for at least 30 minutes. Before eating them, let them sit at room temperatures for a couple of minutes.
- Sealed in an air-tight container, I keep them in the freezer. I never know how long they last, because they are always gone within a few days.
- There are many brands nowadays that make dark chocolate with coconut blossom sugar, which is my prefered source of sugar in baking as it does not elivate the blood sugar level as much as other sugar substitutes do.
- If you make your own chocolate, I find that if you make the chocolate in advance, let it cool completely and then re-melt it, it is easier to work with and also thicker. It does make sense to first make the chocolate when you're making these nut butter cups.
- You can store the homemade chocolate for a few months in an air-tight container in the fridge.
- If you don't have mini cupcake tins, you can roll the nut butter mix into balls, and then dip them into the chocolate. You'll have to do this twice, to get the best result as the homemade chocolate is quite thin.
Enjoy!
I love these healthy versions of delicious treats. Can’t wait to try these.